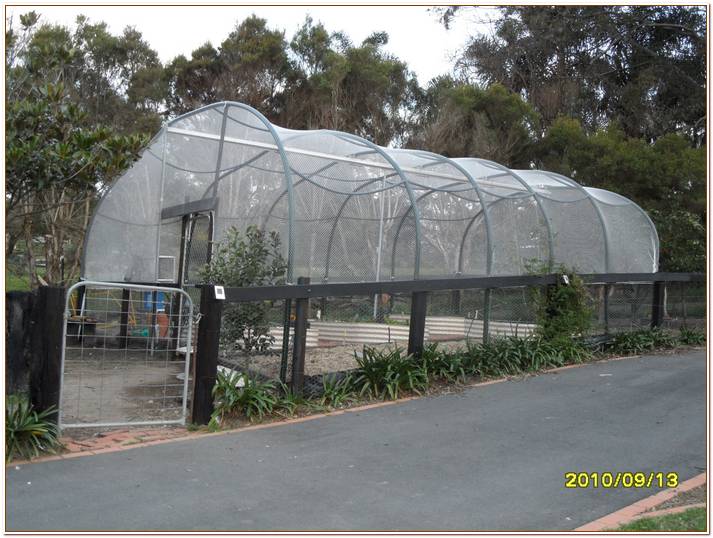
Out here everything grows, given a bit of water, but we rarely get to eat any of it. It’s the rats, bats, possums, cockatoos, geese, chooks and ducks that get first pickings. I don’t mind sharing but that is not the way it is working. We have lived here for 12 years now and haven’t yet had a peach.
We decided to have a real attempt at growing vegetables. We allocated a section of the block as “The Orchard” years ago, the time has come to do something about it. Seeing Leonie Norrington construct her covered garden on Gardening Australia – Sorry I can’t find the link but will gladly reference it when I do – we came up with a plan and decided that it was time to give it a go.
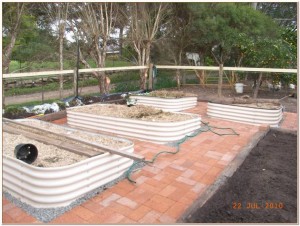
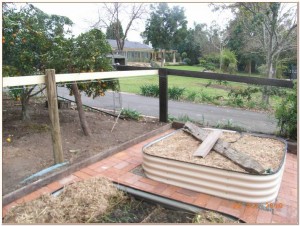
We bought raised garden bed kits from Bunnings then cut each sheet in half and got creative about the shapes and the layout. They took ages to put together because they were held together with wing nuts.
Irrigation
We ran poly pipe into each bed and put taps on each one. Off these drippers were run at 30cm spacing. The end of each tube was finished by turning the ends so they could be flushed out or run back into the main line. The poly pipe was run back to a tap and attached to a timer.
Filling the beds
We bought garden mix (topsoil, compost and manure mixed) from the local landscape supplier. The beds were filled with layers of whatever we could find around the yard. We started with shredded prunings, followed by shredded newspaper,
autumn leaves, well fertilised straw from the chook yard, any part used bags of feritliser or manure then the garden mix. The drippers were run over the soil then the lot was covered with sugar cane mulch.
The Sides and End
We then planned how we were going to cover the lot so came up with extra space on the sides and ends. Old railway sleepers were used to create these beds, Spaced so they lined up with the paving brick sizes.
Paving
Next we paved the area and filled the gaps with gravel for drainage, and so we didn’t need to cut any bricks.
Fencing
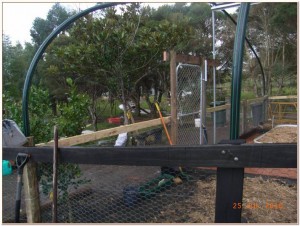
The enclosing fence was built to keep out our poultry, the bottom was lined with damp-proof course plastic clipped onwith fencing staples. A doorway frame was built to fit a standard farm gate.
The Arches
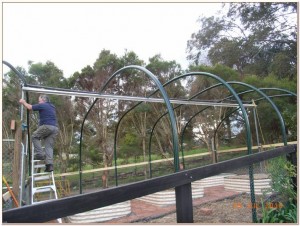
Star posts were hammered in and attached to the posts. The polypipe was rolled out and left in the sun to straighten then cut to length and fed over the starposts. It took a bit of engineering to work out the length of each peice of pipe. It would have been so much easier to make it a rectangular shape.
We ahve also discovered that there is an optimal span distance. The wide end sagged a bit and a supporting post was put in at either end and one in th emiddle with a piece of top hat section atop and wired to each arch.
Between each arch, in five rows, there is a piece of wire run through a tube. We used poly pipe again because of its UV stability but conduit would have been more sturdy.
The Covering
Bunnings again – a 10m x 10m piece of bird netting covered the lot. The edges and corners were bunched up and sewn to form neat corneres. The sides were sown to the wire netting on the fence.
Now we wait until Spring to plant things.

