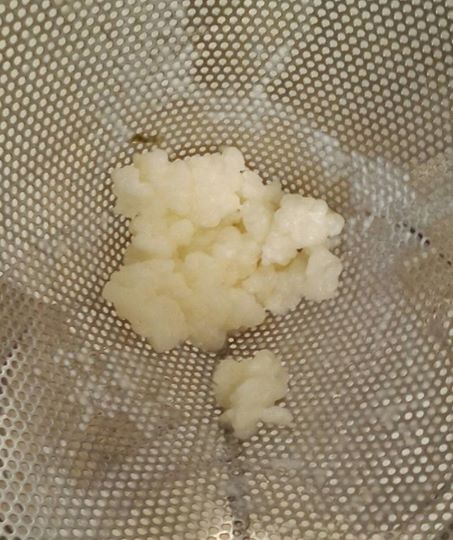
Kefir grains – like little cauliflowers.
I have finally ventured into growing my own milk kefir. These are my first “grains”, bought on e-bay.
The 2 scoops of grains came packed in a zip-lock bag in a little powdered milk with a full set of instructions. This is enough to kefir about 1/2 litre of milk over 24 hours.
I followed the instructions, adding whole milk and leaving it out on the bench and stirring frequently for the 24 hours and then straining off. Many say to put a cloth over the top to let the fermentation gases escape. I used a small jug with a flip top and left this ajar. This needs to be repeated a couple of times or until the kefir grains have recovered from their trip. Mine were ok from the beginning.
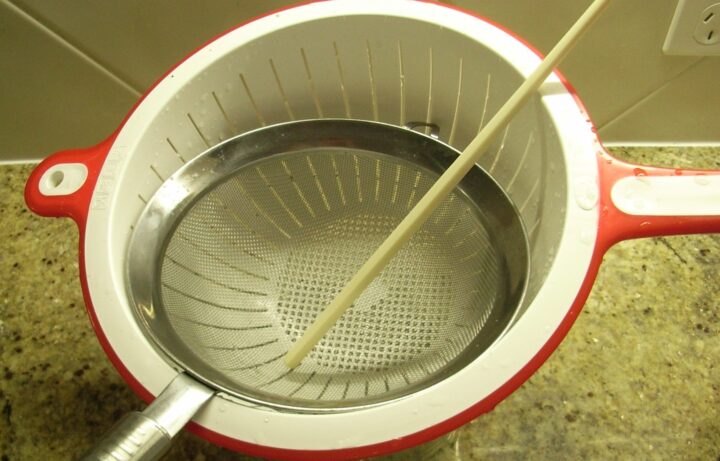
The first few times I strained the grains with a stainless steel sieve (I couldn’t find a plastic one as recommended by some). This leaves the baby grains so they can grow into big ones and the number of grains increases rather quickly so you will soon have enough to kefir a large quantity of milk in one go. This done daily takes a fair amount of time and creates a fair amount of washing up. See below for my solution.
Having done everything you shouldn’t do with milk it took some time to be brave enough to taste it. I was the crash test dummy – when I didn’t get sick the others tried it.
We are all now having kefir every day – tastes a lot like milky unsweetened Greek yoghurt. My special breakfast is now a shot of a lemon juice, garlic, tumeric and apple cider vinegar tonic I make, followed by a nut and seed mix with cinnamon, cocoa powder, and kefired milk as a cereal or a kefir smoothie, blended with my nut/seed breakfast, cinnamon and cocoa, some frozen berries and other fruit.
It has to be healthy!
Lots of information can be found on the web. Dom’s Kefir site helped me along. It is worth visiting.
HOW TO MAKE KEFIR MANAGEABLE
To make a daily batch of Kefir is time consuming and creates lots of washing up. This is my solution. It makes about 1 1/2 litres of kefir. There is always a batch ready to make when one runs out – keeping one ready to ferment in the fridge until needed – and it minimises washing up.
Requirements
Strainers, chopstick bowls and jugs – essential tools
- Plastic sieve
- chopsticks
- 2 litre jugs
- bowls
- kefir grains
- 2 litres whole milk
Method
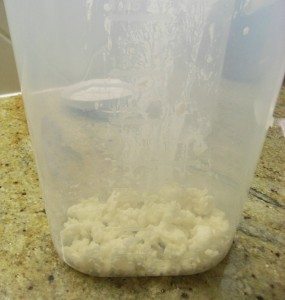
Kefir grains in a clean jug ready for feeding with milk.
1. Put kefir grains in the jug, fill to 3/4 with whole milk, place in fridge until needed.
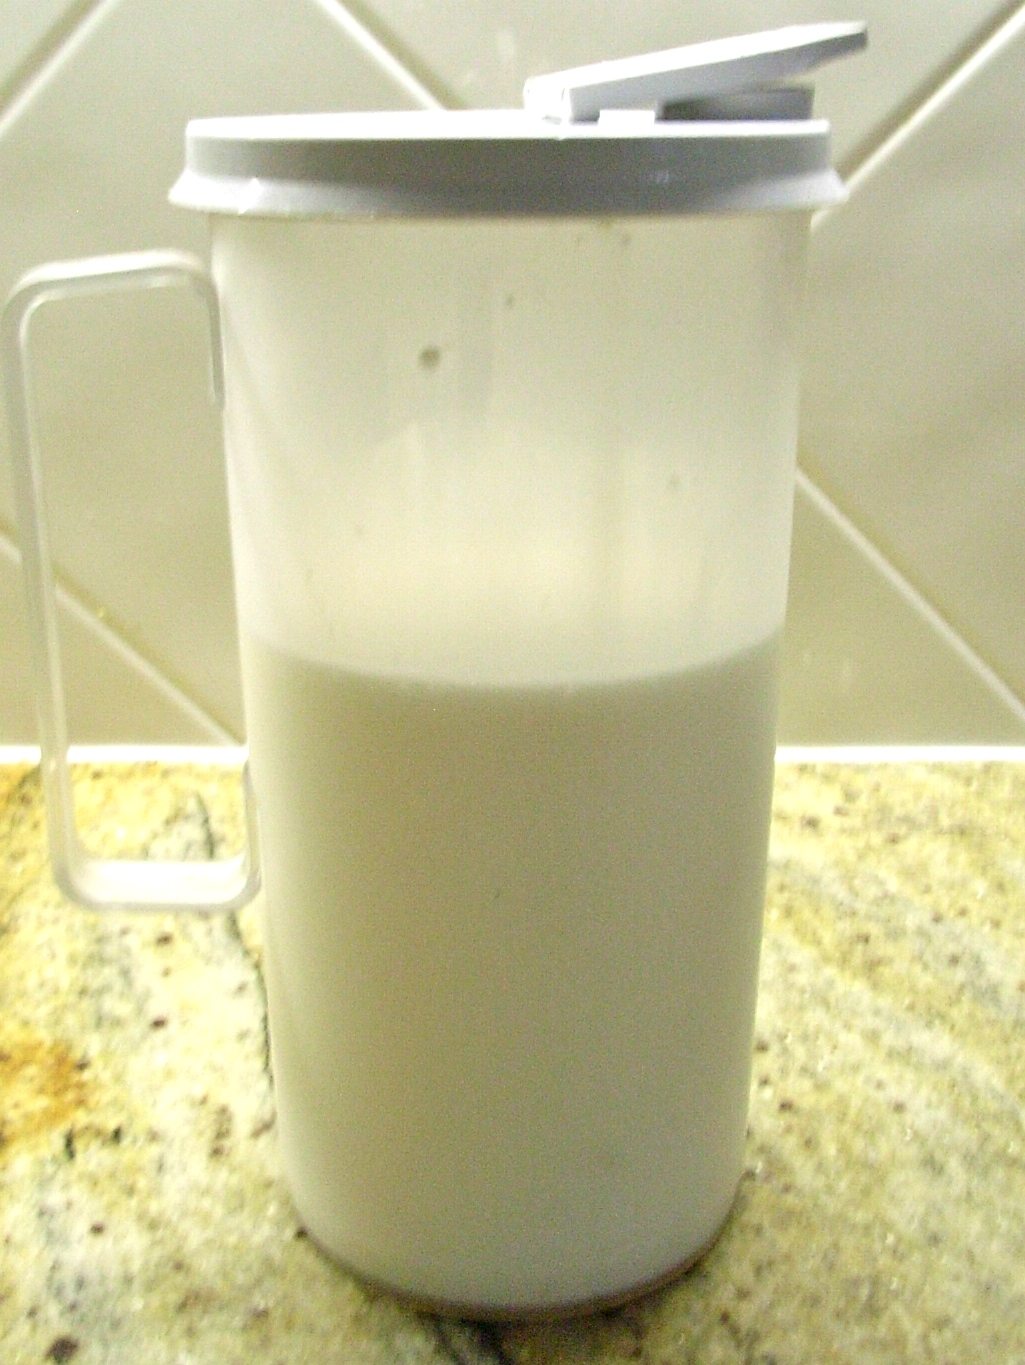
Kefir grains now with the milk, ready to go to work. They can go into the fridge to wait or onto the bench to grow.
2. When ready to make kefir take the jug of grains and milk out of the fridge and place on the bench in the kitchen. Leave the flip top ajar to allow the ferment gases to escape.
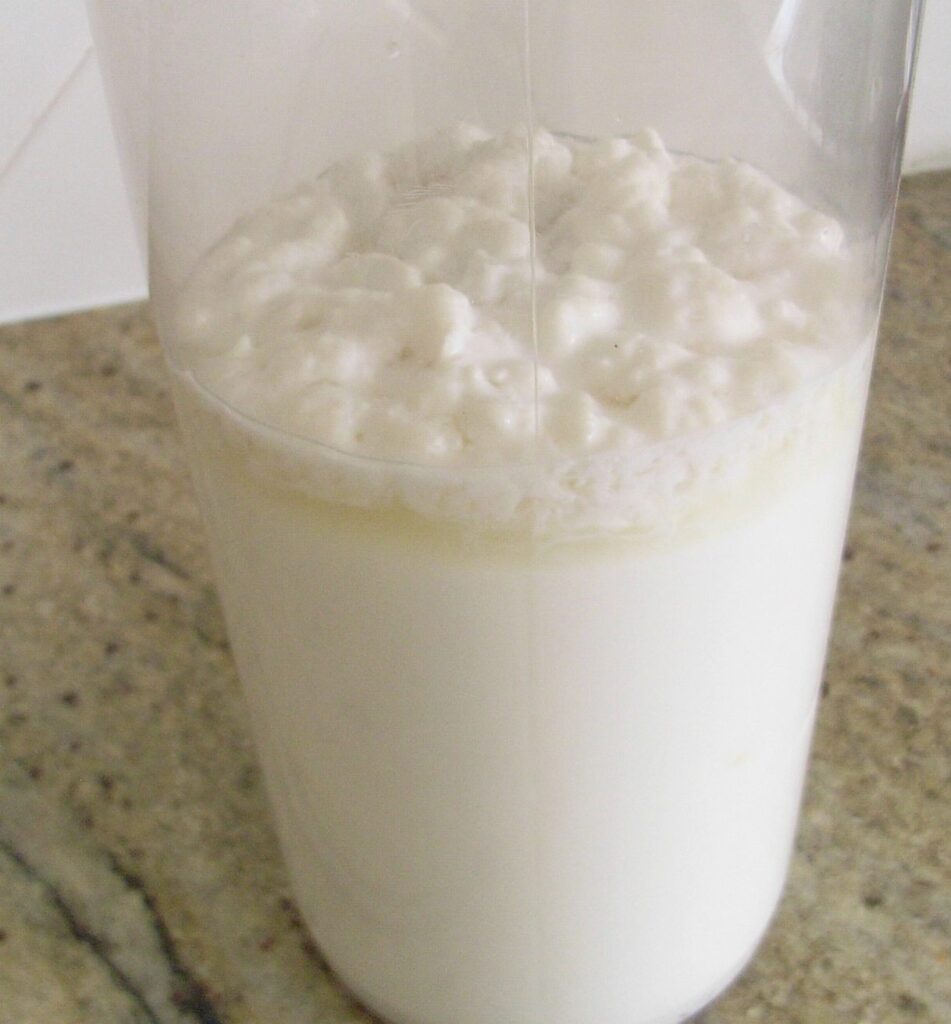
The kefir grains feed on the milk, stir to give them access to more food.
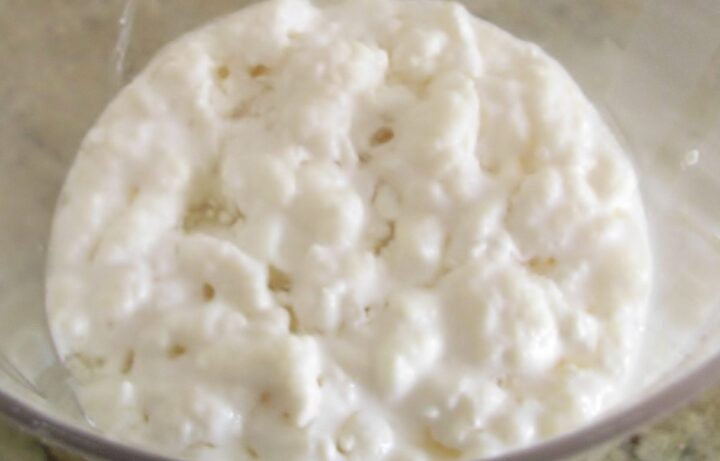
The kefir grows around the grains – stirring gives the grains fresh food.

Kefir and whey separating, just stir it up.
3. Several times each day remove the lid and stir thoroughly with a chopstick. Don’t worry if the whey separates, just stir it all up.

4. When it looks thick enough and tastes slightly of yoghurt it is done. At this point I put it into the fridge and wait until the morning. On warm days this takes less time, for larger quantities this may take 24 hours. I try to balance the quantity of grains so the mix I take out of the fridge in the morning is done by the evening.
In the Morning – when ready to separate: Stir or shake the kefir grains mix. Tip the mixture through a sieve and into a bowl.
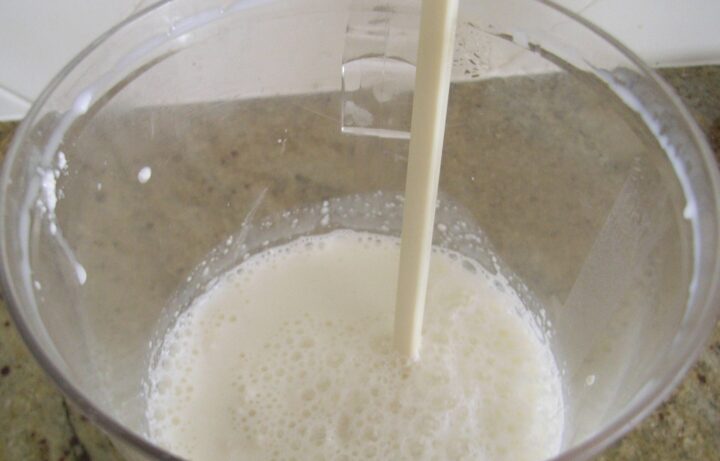
This what it looks like after being stirred
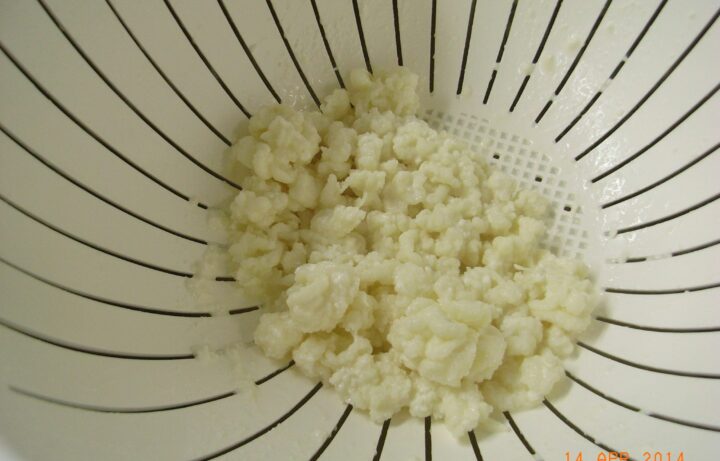 When not trying to grow extra grains use this coarser strainer. The baby grains go through the sieve into the kefired milk
5. Put the strained grains into a clean jug and 3/4 fill with whole milk and place it in the fridge.
6. Stir the kefired milk and return it to the jug that it was initially made in. I usually rinse this out with boiling water then run filtered water through it. Apparently the kefir grains don’t like the chlorine in our tap water.
7. If there is only a small amount of the previous mix left I usually add it to this batch.
8. This jug is the one being used and the other one sits in the fridge to be placed on the bench when we have finished drinking all of the milk kefir.
9. Using this routine I usually only need to do the straining and washing up creation every three days.
Backup
When the mix is “kefiring” too quickly it is time to remove some of the grains. Extra grains can be frozen or dried – look to other sites for information on this.
I put the extras into a zip lock bag with some powdered milk and leave these in the fridge. They seem to last this way for about 2 weeks at which time I rotate them into the current mix or if I am giving them to someone I reactivate them as described at the beginning.
When there are far too many hanging around the chooks get the excess.
What to do with the kefir
Kefir makes fantastic pancakes, the fluffiest scrambled eggs and thick pizza crusts like the ones you get from Pizza Hut. Because it has a yeast in it it does rise so it can be added to muffin mixes, makes great flat bread and because of its slight tartness goes great in fried mushrooms. It use it almost anywhere as a substitute for milk, yoghurt and sour cream.
We all have kefir at breakfast, either on my Paleo muesli or in a Smoothie.
Kefir Smoothie

- 1/2 cup frozen berries (mango and blueberries)
- 1 cup kefir
- 1 tsp splenda
- 1 tsp cinnamon
- 1 tsp cocoa
- 1 tbs paleo muesli (seeds, coconut, nuts, quinoa flakes etc)
Blend everything in a blender or with a stick mixer (Bamix).